· 11 min read · Engineering
The full-stack starter I wish I had — Part 1: Django backend
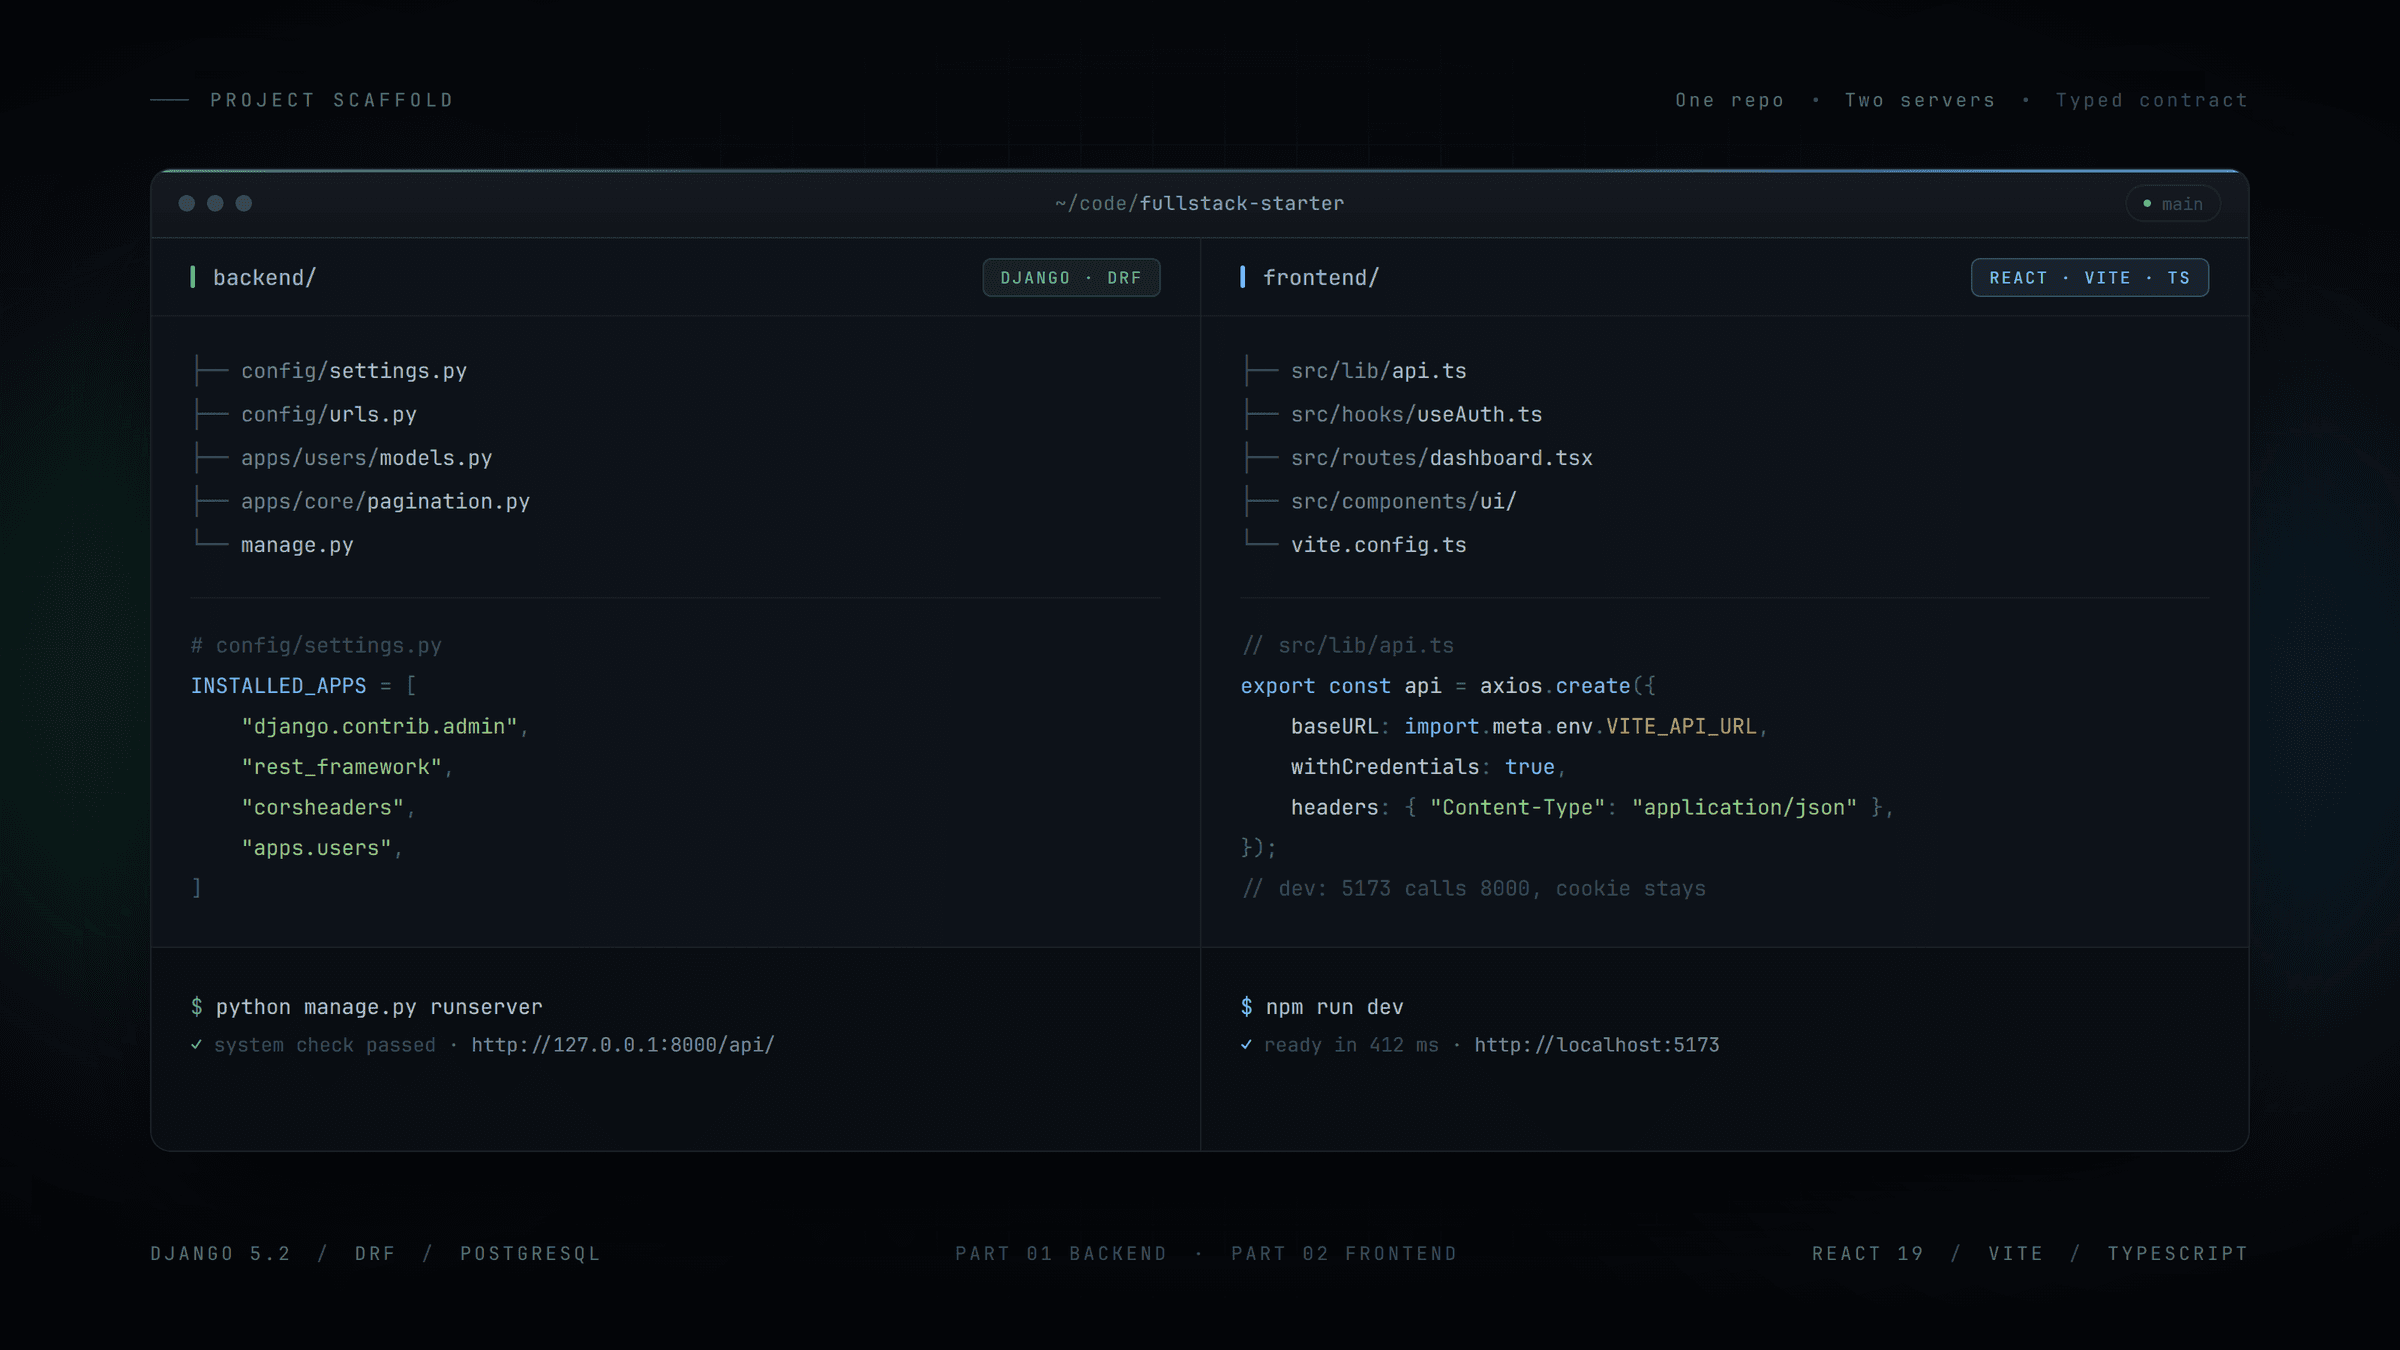
This is the first post in a short series about setting up a full-stack app you won't regret in six months — Django on the back, React on the front. Part 1 (this one) is the backend: a step-by-step Django setup you can follow start to finish. Part 2 will do the same for the React frontend that talks to it.
Open your terminal and follow along. By the end of this post you'll have a Django project that a) is set up the way I set up every new backend I start, and b) has room to grow without you having to rearrange things later.
I'm not going to argue for the choices here — the why behind each one is a separate post that will follow the series. For now the goal is one thing: a junior developer opens this, works through the steps, and ends up with a clean, structured Django project they can start building features into.
You'll need Python 3.12 or newer, Postgres running locally (a Docker container works fine), and Git.
Step 1 — Install uv (or stick with pip)
uv is a fast Python package and project manager written in Rust. It's the tool I now reach for on every new Python project. Two things I like about it over pip:
- It's fast. A dependency install that used to take a minute takes a few seconds.
- It manages your dependencies through
pyproject.tomland auv.lockfile — the same lockfile-based flow you get fromnpmorcargo, which pip never really matched.
Install it:
curl -LsSf https://astral.sh/uv/install.sh | shVerify:
uv --versionIf you'd rather stick with pip and virtualenv, that's fine — every step below will show both paths.
Step 2 — Create the project folder and initialize
mkdir myproject
cd myproject
With uv:
uv initThat creates a pyproject.toml, a .python-version file, and a couple of placeholder files (hello.py, README.md) that you can delete.
With pip:
python -m venv .venv
source .venv/bin/activate      # on Windows: .venv\Scripts\activate
Whichever path you took, you're now in an isolated environment for this project.
Step 3 — Install Django and start the project
With uv:
uv add django django-environ django-split-settingsWith pip:
pip install django django-environ django-split-settings
pip freeze > requirements.txt
Now start the Django project. Small but important naming detail: call the config module config, not the project name. This way, imports later read config.settings and config.urls and stay valid even if the project itself is renamed.
With uv:
uv run django-admin startproject config .With pip:
django-admin startproject config .The . at the end tells Django not to nest an extra directory — put files here in the current folder. Your tree now looks like this:
myproject/
├── manage.py
├── pyproject.toml (or requirements.txt)
└── config/
    ├── __init__.py
    ├── asgi.py
    ├── settings.py
    ├── urls.py
    └── wsgi.py
Confirm it works:
uv run python manage.py runserverVisit http://127.0.0.1:8000/, you should see the Django rocket. Stop the server (Ctrl+C) and we'll start reshaping the project.
Step 4 — Create apps/ and docs/ folders
Django apps can live anywhere on the Python path. The startapp default puts each one alongside manage.py, which gets noisy fast. Three months in you'll have accounts/, orders/, billing/, notifications/ sitting next to config/ and it's hard to tell code from scaffolding at a glance.
I put every app under a single apps/ folder. While we're here, also add a docs/ folder — an obvious home for architecture notes, API contracts, onboarding checklists, or anything you want kept next to the code:
mkdir apps docsWe'll fill apps/ in Step 7. docs/ can stay empty for now — it's easier to have the folder ready than to create one under pressure later.
Step 5 — Split settings into a package
The default config/settings.py is a single file. It works fine at 100 lines. It stops being fun to work with at 400. The move I make on day one is to turn it into a package — one file per concern (env vars, base Django settings, database, and later security, DRF, Celery, etc).
Delete the existing settings file and create the package:
rm config/settings.py
mkdir config/settings
touch config/settings/__init__.py
touch config/settings/env.py
touch config/settings/base.py
touch config/settings/database.py
Now fill in each file.
config/settings/__init__.py — the entry point Django loads. It reads .env, works out which environment we're in, puts apps/ on the Python path, and includes each concern-specific settings file in order:
"""
Entry point for Django settings.
- Reads .env if present.
- Declares LOCAL/DEV/PROD/TESTING flags from env vars.
- Adds apps/ to sys.path so app imports stay short.
- Includes each concern-specific settings module in order.
"""
import sys
from pathlib import Path

import environ
from split_settings.tools import include

BASE_DIR = Path(__file__).resolve().parent.parent.parent

env = environ.Env(
    LOCAL=(bool, False),
    DEV=(bool, False),
    PROD=(bool, False),
    TESTING=(bool, False),
)

env_file = BASE_DIR / ".env"
if env_file.is_file():
    env.read_env(str(env_file))

LOCAL = env("LOCAL")
DEV = env("DEV")
PROD = env("PROD")
TESTING = env("TESTING") or (sys.argv[1:2] == ["test"])

if int(DEV) + int(PROD) + int(TESTING) > 1:
    raise RuntimeError("Cannot run in multiple environments at once")

# Put apps/ on sys.path so imports read `from accounts.models import ...`
# rather than `from apps.accounts.models import ...`
_apps_dir = str(BASE_DIR / "apps")
if _apps_dir not in sys.path:
    sys.path.insert(0, _apps_dir)

include(
    "env.py",       # first: fails fast if required env vars are missing
    "base.py",
    "database.py",
)
config/settings/env.py — every environment variable declared once. No default means required.
"""Every environment variable the app reads is declared here."""
from config.settings import env

SECRET_KEY = env("SECRET_KEY")              # required
DATABASE_URL = env("DATABASE_URL", default="")
config/settings/base.py — the Django defaults startproject gave you, minus the parts we've split out:
"""Django's built-in settings."""
from config.settings import BASE_DIR, LOCAL

DEBUG = LOCAL

ROOT_URLCONF = "config.urls"
WSGI_APPLICATION = "config.wsgi.application"
DEFAULT_AUTO_FIELD = "django.db.models.BigAutoField"

INSTALLED_APPS = [
    "django.contrib.admin",
    "django.contrib.auth",
    "django.contrib.contenttypes",
    "django.contrib.sessions",
    "django.contrib.messages",
    "django.contrib.staticfiles",
    # Your apps go here — we'll add "accounts" in Step 7
]

MIDDLEWARE = [
    "django.middleware.security.SecurityMiddleware",
    "django.contrib.sessions.middleware.SessionMiddleware",
    "django.middleware.common.CommonMiddleware",
    "django.middleware.csrf.CsrfViewMiddleware",
    "django.contrib.auth.middleware.AuthenticationMiddleware",
    "django.contrib.messages.middleware.MessageMiddleware",
    "django.middleware.clickjacking.XFrameOptionsMiddleware",
]

TEMPLATES = [
    {
        "BACKEND": "django.template.backends.django.DjangoTemplates",
        "DIRS": [],
        "APP_DIRS": True,
        "OPTIONS": {
            "context_processors": [
                "django.template.context_processors.debug",
                "django.template.context_processors.request",
                "django.contrib.auth.context_processors.auth",
                "django.contrib.messages.context_processors.messages",
            ],
        },
    },
]

AUTH_PASSWORD_VALIDATORS = [
    {"NAME": "django.contrib.auth.password_validation.UserAttributeSimilarityValidator"},
    {"NAME": "django.contrib.auth.password_validation.MinimumLengthValidator"},
    {"NAME": "django.contrib.auth.password_validation.CommonPasswordValidator"},
    {"NAME": "django.contrib.auth.password_validation.NumericPasswordValidator"},
]

LANGUAGE_CODE = "en-us"
TIME_ZONE = "UTC"
USE_I18N = True
USE_TZ = True

STATIC_URL = "/static/"
config/settings/database.py — Postgres locally, DATABASE_URL elsewhere:
"""Database configuration, environment-aware."""
from config.settings import LOCAL, env

if LOCAL:
    DATABASES = {
        "default": {
            "ENGINE": "django.db.backends.postgresql",
            "HOST": "localhost",
            "PORT": 5432,
            "USER": "postgres",
            "PASSWORD": "postgres",
            "NAME": "myproject",
        }
    }
else:
    DATABASES = {"default": env.db("DATABASE_URL")}
That's the minimum viable split. When you later need CORS, DRF settings, Celery config or storage settings, they each get their own file and one line in the include(...) call.
Because we split the file, Django's manage.py no longer needs any change — it still points at config.settings (which is now a package). Same for wsgi.py and asgi.py. Verify nothing is broken:
uv run python manage.py checkYou'll get an error about SECRET_KEY being missing. That's expected — set up the .env next.
Step 6 — Add .env, .env.example and .gitignore
Create .env at the project root (this file stays out of git):
# .env
LOCAL=True
SECRET_KEY=dev-secret-key-not-for-production
Create .env.example (this one goes into git so new developers know what to fill in):
# .env.example
LOCAL=True
DEV=False
PROD=False
SECRET_KEY=
DATABASE_URL=
Create .gitignore:
# .gitignore
.env
.venv/
__pycache__/
*.pyc
.DS_Store
static/
media/
*.sqlite3
Now:
uv run python manage.py checkShould print System check identified no issues (0 silenced).
Step 7 — Create your first app with a custom User model
One rule Django's own docs are loud about: if you're going to use a custom User, ship it before the first migration. Retrofitting AUTH_USER_MODEL after tables exist is a genuinely painful data migration. So we set it up now, even if it looks like overkill for an empty project.
Create the app inside apps/:
mkdir apps/accounts
uv run python manage.py startapp accounts apps/accounts
Update apps/accounts/apps.py so the app name matches the bare-import path we set up in Step 5:
# apps/accounts/apps.py
from django.apps import AppConfig


class AccountsConfig(AppConfig):
    default_auto_field = "django.db.models.BigAutoField"
    name = "accounts"
Replace apps/accounts/models.py with a minimal custom User that uses email instead of username:
# apps/accounts/models.py
from django.contrib.auth.models import (
    AbstractBaseUser,
    BaseUserManager,
    PermissionsMixin,
)
from django.db import models


class UserManager(BaseUserManager):
    def create_user(self, email, password=None, **extra):
        if not email:
            raise ValueError("Email is required")
        user = self.model(email=self.normalize_email(email), **extra)
        user.set_password(password)
        user.save(using=self._db)
        return user

    def create_superuser(self, email, password=None, **extra):
        extra.setdefault("is_staff", True)
        extra.setdefault("is_superuser", True)
        return self.create_user(email, password, **extra)


class User(AbstractBaseUser, PermissionsMixin):
    email = models.EmailField(unique=True)
    first_name = models.CharField(max_length=150, blank=True, default="")
    last_name = models.CharField(max_length=150, blank=True, default="")

    is_active = models.BooleanField(default=True)
    is_staff = models.BooleanField(default=False)
    date_joined = models.DateTimeField(auto_now_add=True)

    objects = UserManager()

    USERNAME_FIELD = "email"
    REQUIRED_FIELDS = []

    class Meta:
        db_table = "users"
Register the app and tell Django this is now the user model. Open config/settings/base.py and update two things:
# config/settings/base.py
INSTALLED_APPS = [
    "django.contrib.admin",
    "django.contrib.auth",
    "django.contrib.contenttypes",
    "django.contrib.sessions",
    "django.contrib.messages",
    "django.contrib.staticfiles",
    "accounts",                          # <-- add this
]

# ... other settings ...

AUTH_USER_MODEL = "accounts.User"        # <-- add this at the bottom
Create the database and run migrations:
createdb myproject
uv run python manage.py makemigrations accounts
uv run python manage.py migrate
Create a superuser so you can log into the admin:
uv run python manage.py createsuperuserStart the server, visit http://127.0.0.1:8000/admin/, log in with the superuser you just created. You've got a working Django app on your custom User model.
Step 8 — Add ruff for linting and formatting
ruff is a single tool that replaces flake8, isort, and (for most projects) black. Written in Rust, effectively instant.
Install:
uv add --dev ruffWith pip:
pip install ruff
# add to your dev requirements file
Add configuration to pyproject.toml:
[tool.ruff]
target-version = "py312"
line-length = 119
extend-exclude = ["migrations", "static", "media"]

[tool.ruff.lint]
select = ["E", "F", "I", "N", "UP", "B", "DJ"]
# E/F: pycodestyle + pyflakes, I: import sorting, N: naming,
# UP: pyupgrade, B: bugbear, DJ: flake8-django
ignore = ["E501"]  # line-too-long is handled by the formatter

[tool.ruff.format]
quote-style = "double"
indent-style = "space"
Run it:
uv run ruff check .            # lint
uv run ruff format .           # auto-format
Fix anything it complains about now — the codebase is small, so this is the cheapest it will ever be to clean up.
Step 9 — Wire up pre-commit
pre-commit runs a set of checks before every commit, so you never push a formatting mistake or an obviously broken file. It's a small setup that saves a lot of noise on pull requests.
Install:
uv add --dev pre-commitCreate .pre-commit-config.yaml at the project root:
repos:
  - repo: https://github.com/astral-sh/ruff-pre-commit
    rev: v0.7.0
    hooks:
      - id: ruff
        args: [--fix]
      - id: ruff-format

  - repo: https://github.com/pre-commit/pre-commit-hooks
    rev: v5.0.0
    hooks:
      - id: check-added-large-files
      - id: check-merge-conflict
      - id: check-yaml
      - id: end-of-file-fixer
      - id: trailing-whitespace
Install the git hook:
uv run pre-commit installFrom now on git commit runs the hooks. If a check fails, the commit is aborted and (in most cases) files are auto-fixed — stage the fixes and commit again.
Step 10 — Add a Makefile for common commands
The Makefile is the project's task runner. Not because make is magic — it's a thin wrapper. It's just that once you've written make db-reset a hundred times, you never want to type the underlying commands again. And a new person can clone the repo and read the Makefile to know what commands exist.
Create Makefile:
.PHONY: install runserver shell migrations migrate db-reset db-setup test lint

install:
	uv sync
	uv run pre-commit install

runserver:
	uv run python manage.py runserver

shell:
	uv run python manage.py shell

migrations:
	uv run python manage.py makemigrations

migrate:
	uv run python manage.py migrate

db-reset:
	dropdb -f myproject -h localhost -U postgres || true
	createdb myproject -h localhost -U postgres
	$(MAKE) migrate

db-setup: db-reset
	uv run python manage.py createsuperuser

test:
	uv run python manage.py test

lint:
	uv run ruff check --fix .
	uv run ruff format .
Now the day-to-day loop is:
make install       # first time — installs deps and pre-commit
make db-reset      # blow away and recreate the local DB
make runserver     # start Django on :8000
make test          # run the test suite
make lint          # ruff check + format
Step 11 — Add a Dockerfile (optional but small effort)
You don't need this to develop locally, but it's cheap to add now and painful to bolt on the first time you deploy. This is a two-stage build using uv — the first stage installs deps, the second is a slim runtime image that only holds what's needed to run.
Create Dockerfile:
# ---------- Stage 1: build ----------
FROM python:3.12-slim AS builder
COPY --from=ghcr.io/astral-sh/uv:0.5.11 /uv /usr/local/bin/
WORKDIR /usr/src/app

ENV UV_PROJECT_ENVIRONMENT=/usr/src/app/.venv \
    PYTHONDONTWRITEBYTECODE=1 \
    PYTHONUNBUFFERED=1

RUN apt-get update && apt-get install -y --no-install-recommends \
    build-essential libpq-dev \
    && rm -rf /var/lib/apt/lists/*

# Install deps FIRST so a source change doesn't invalidate the layer.
COPY pyproject.toml uv.lock ./
RUN uv sync --frozen --no-install-project --no-dev

COPY . .
RUN uv sync --frozen --no-dev


# ---------- Stage 2: runtime ----------
FROM python:3.12-slim AS runtime
WORKDIR /usr/src/app

RUN apt-get update && apt-get install -y --no-install-recommends \
    libpq5 \
    && rm -rf /var/lib/apt/lists/*

COPY --from=builder /usr/src/app /usr/src/app
ENV PATH="/usr/src/app/.venv/bin:$PATH" \
    PORT=8080

EXPOSE 8080
CMD ["gunicorn", "config.wsgi:application", "--bind", "0.0.0.0:8080"]
Build and run:
docker build -t myproject .
docker run --rm -p 8080:8080 --env-file .env myproject
(You'll want gunicorn in the deps too — uv add gunicorn.)
The final structure
At this point, tree -a -I '.git|.venv|__pycache__|node_modules|static|media' from the project root should look like this:
myproject/
├── .env
├── .env.example
├── .gitignore
├── .pre-commit-config.yaml
├── .python-version
├── Dockerfile
├── Makefile
├── README.md
├── manage.py
├── pyproject.toml
├── uv.lock
├── apps/
│   └── accounts/
│       ├── __init__.py
│       ├── admin.py
│       ├── apps.py
│       ├── migrations/
│       │   ├── __init__.py
│       │   └── 0001_initial.py
│       ├── models.py
│       ├── tests.py
│       └── views.py
├── config/
│   ├── __init__.py
│   ├── asgi.py
│   ├── urls.py
│   ├── wsgi.py
│   └── settings/
│       ├── __init__.py
│       ├── base.py
│       ├── database.py
│       └── env.py
└── docs/
Every new app you add lives under apps/<name>/ and gets a single line in INSTALLED_APPS. Every new settings concern (CORS, DRF, Celery, storage) becomes a new file in config/settings/ and a single line in the include(...) call. The rest of the project doesn't have to move.
What comes next
Part 2 picks up from here on the frontend side — a React app built with Vite and TypeScript, wired up to this backend with Redux Toolkit Query, and organized in feature folders that mirror the Django apps so a feature has one obvious home on both sides.
After that, a separate post will cover the why behind decisions I glossed over here: the split-settings philosophy, how I organize the inside of an app (services, selectors, input/output serializers), why I reach for Knox over JWT for auth, and how I set up Celery for background jobs. Those all have real reasons, and they're their own conversation.
For now, if a junior developer opens this post, works through it end to end, and ends up with the tree above, this post has done its job. If you spot a step that could be clearer or an obvious omission for a beginner, tell me — this is exactly the sort of post that gets better with second pairs of eyes.
- django
- python
- software development