· 13 min read · Engineering
The full-stack starter I wish I had — Part 2: React frontend
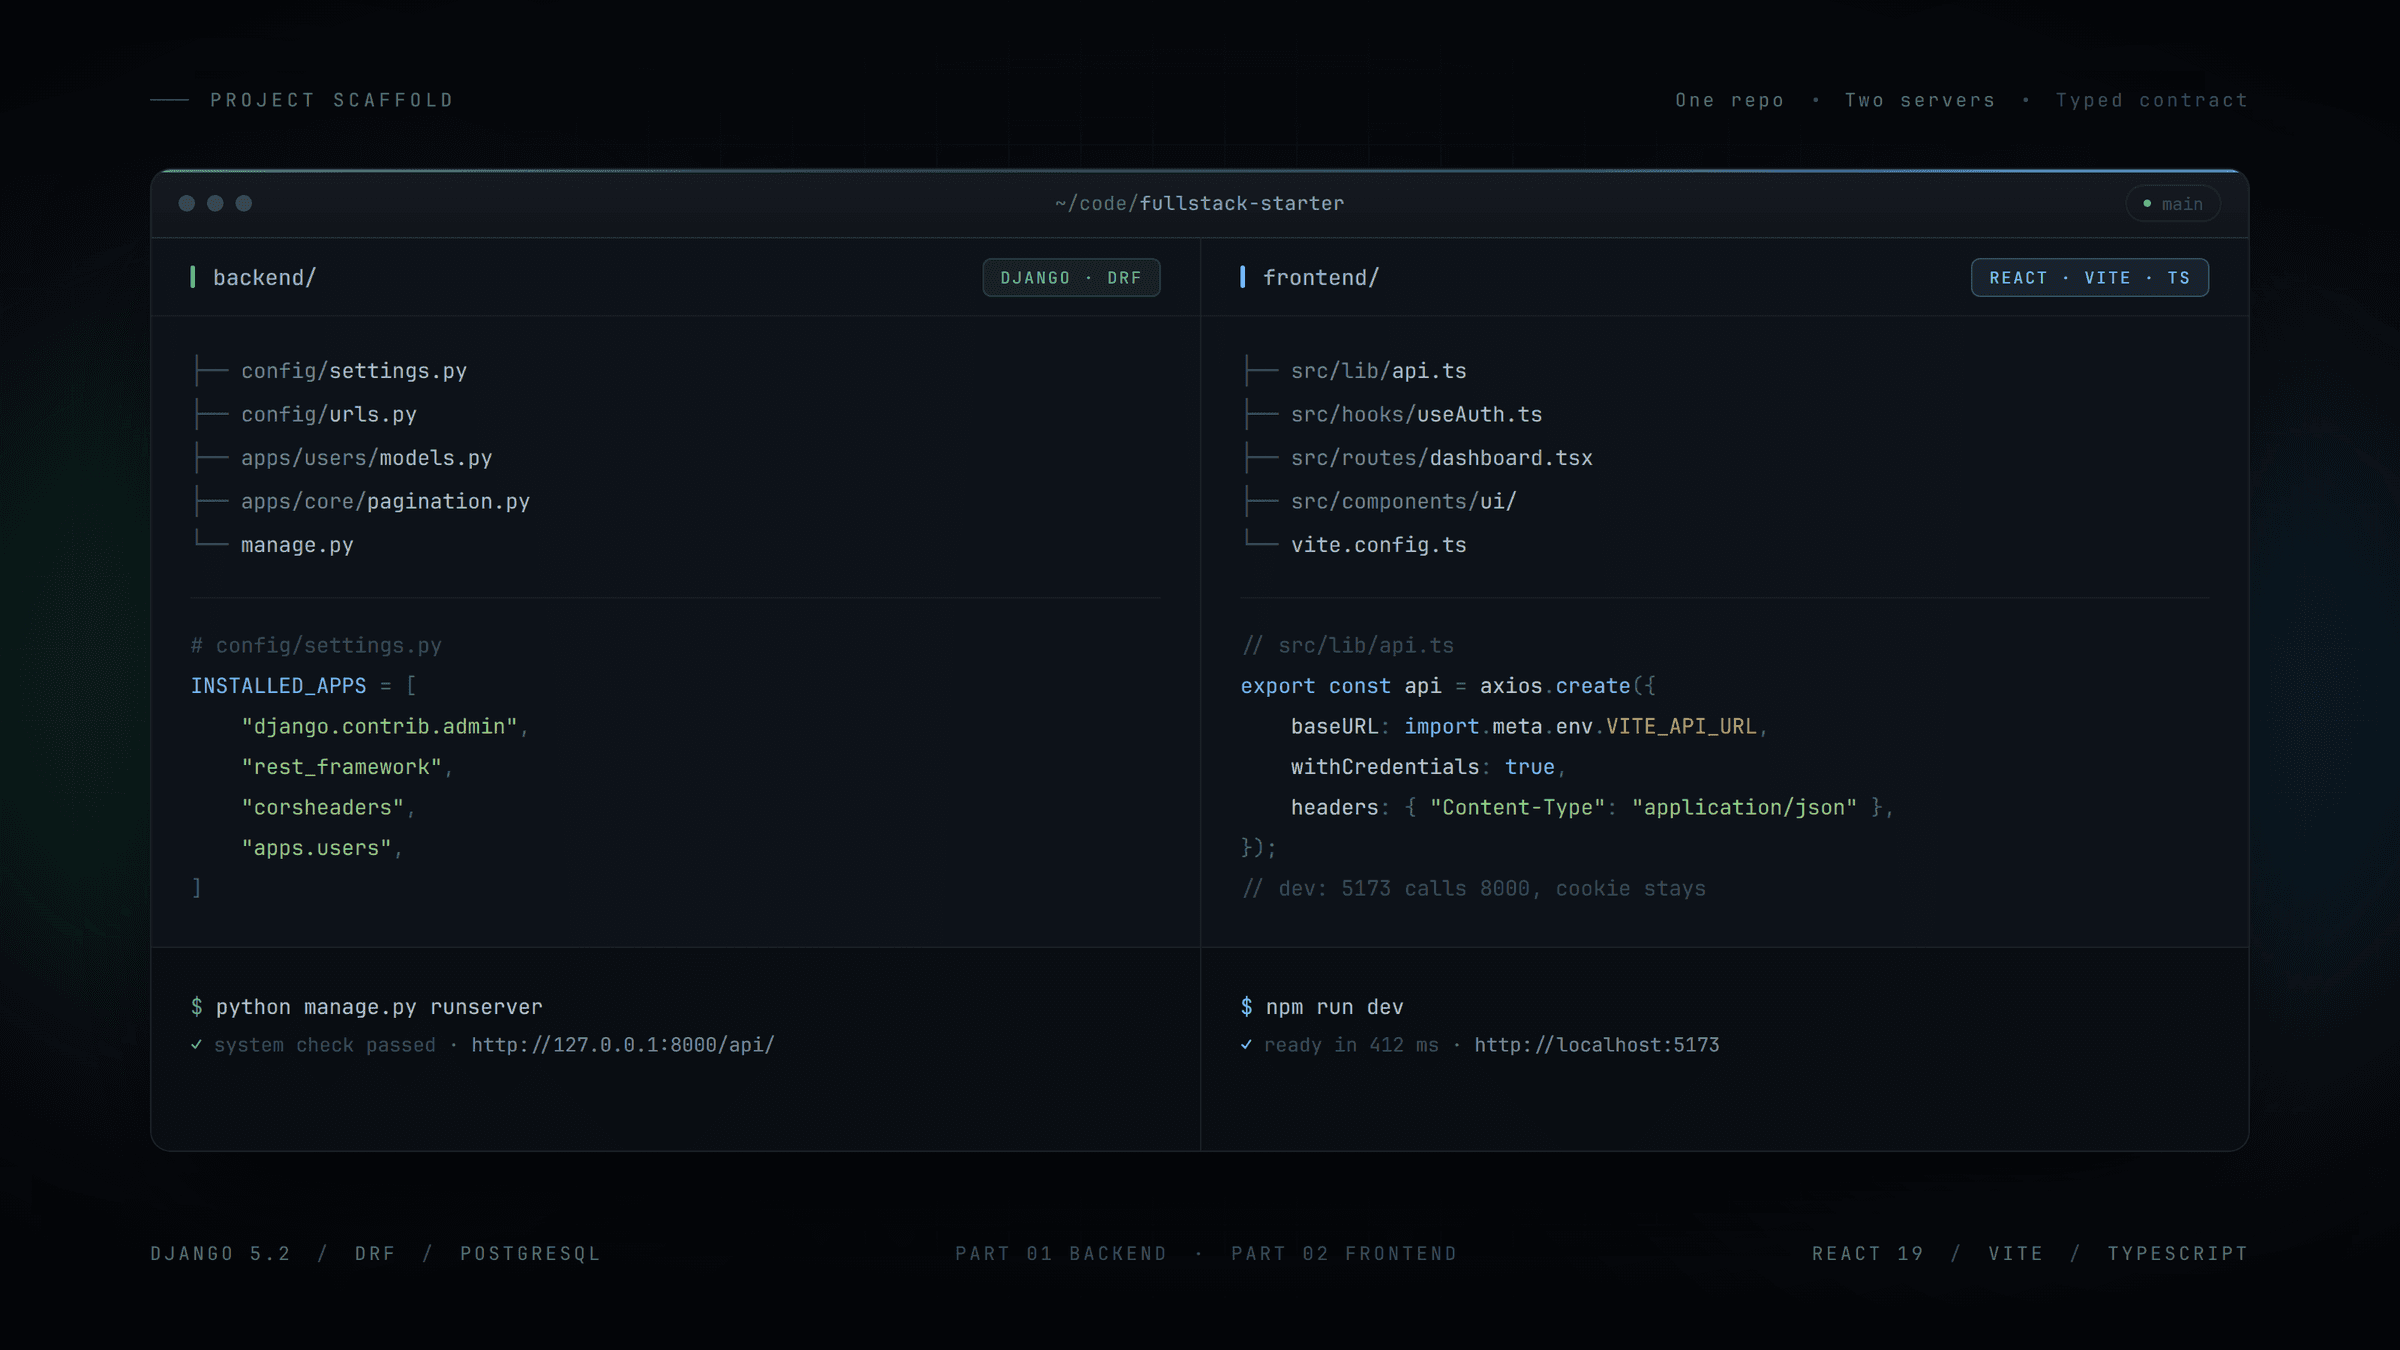
This is Part 2 in the full-stack starter series. In Part 1 we set up the Django backend. Now we're doing the same for the React frontend that talks to it — same rules as before: junior can follow start to finish, ends up with a project structure that holds up as features get added. This is a setup and structure post, same as Part 1 — we're not building any features here, just the scaffolding you can build them on.
By the end of this post you'll have a React app that:
- Boots with Vite and TypeScript
- Has a slot ready for your UI library — MUI, Tailwind or anything else you prefer
- Routes with React Router, lazy-loaded through a route registry
- Talks to Django through Redux Toolkit Query, backed by axios
- Persists auth state across reloads with redux-persist
- Has
@/-style path aliases and ESLint wired up
The one idea to hold on to: every folder under src/ has one job, and the domain folders (pages/, services/) mirror the backend apps. Every Django apps/<name>/ gets a matching src/services/<name>/ on the front. That symmetry is what stops the codebase from turning into two disconnected worlds.
You'll need Node.js 22 or newer.
Step 1 — Install Node.js
Grab the current Node LTS from nodejs.org or via a version manager like nvm, fnm or volta. Verify:
node --version    # v22.x or newer
npm --version
npm ships with Node, so that's already installed.
Step 2 — Scaffold with Vite + TypeScript
Create the project. In Part 1 the backend directory is myproject; use myproject-web for the frontend so a full-stack repo has a clean two-folder layout at the root — myproject/ for Django, myproject-web/ for React.
npm create vite@latest myproject-web -- --template react-ts
cd myproject-web
npm install
Vite gives you a src/ folder with main.tsx, App.tsx, an index.css and an App.css. Start the dev server:
npm run devVisit http://localhost:5173/, you should see the default Vite + React page. Stop the server (Ctrl+C) and we'll start reshaping.
Before anything else, clean up the default styles so we don't fight them later. Delete src/App.css and empty out src/index.css:
rm src/App.css
: > src/index.css      # or just open and delete the contents
Also remove the import "./App.css" line from src/App.tsx — we'll rewrite that file entirely in Step 9, but this stops it from blowing up in the meantime.
Step 3 — Reshape src/ into the folder structure
This is the meat of the setup. Every folder we create here has one specific job, and it stays that way as the app grows. Create them all at once:
mkdir -p \
  src/assets/png \
  src/assets/svg \
  src/components \
  src/constants/copy \
  src/constants/enums \
  src/hooks \
  src/layouts \
  src/pages \
  src/providers \
  src/routes \
  src/services \
  src/store/slices \
  src/themes \
  src/utilities
Here's what each one is for:
assets/— static files that get imported into the app: images (png/), inline SVGs (svg/), fonts. Not to be confused withpublic/, which serves files as-is from the root URL.components/— shared UI. Buttons, dialogs, tables, form primitives, avatars. Nothing app-domain specific — those go inpages/. Organize by component family:components/button/,components/dialog/,components/form/.constants/— non-code constants.copy/for user-facing strings (so PMs can edit labels without hunting through JSX),enums/for frontend enums that mirror backend enums.hooks/— custom React hooks that aren't tied to a single domain.useQueryParams,useDebouncedValue,useLocalStorage, that kind of thing.layouts/— page-level layouts. Almost every app has two: a public/auth layout (login, register, forgot password) and an authenticated app layout (sidebar, header, main content). This is where they live.pages/— one folder per domain, mirroring the backend apps.pages/dashboard/,pages/enrollees/,pages/claims/. Route target components live here. Route registration happens separately inroutes/.providers/— top-level React context providers.AppProviderfor theme + toast + date pickers,StoreProviderfor Redux + PersistGate. Composed once at the root, then forgotten.routes/— route configuration. We use a singleroute-registry.tsthat maps every URL to a lazy-loaded page component and a layout.services/— the API layer and the state that goes with it. One folder per backend app:services/accounts/,services/enrollees/. Also holds the RTK Query base (baseApi.ts) and shared API types (apiTypes.ts).store/— Redux Toolkit store setup, typed hooks, slices for cross-cutting state (auth,theme,app), and redux-persist config.themes/— design tokens and any UI-library-specific theme config. Whether you go with MUI (a composedtheme.tsx), Tailwind (atailwind.config.tswith your tokens) or something else, this is where the config lives. When a designer changes a color, this is the only place you touch.utilities/— small domain-agnostic helpers. Error normalizers, environment helpers, URL-search-params helpers.
The folders that fill up over time (components, pages, services) are the ones organized by domain. The folders with fixed contents (store, routes, providers, themes) each have a few files and don't grow much.
Step 4 — Set up path aliases
Before we start creating files that import from @/services/... or @/store/..., wire up the path alias so those imports resolve. Two files to update.
In tsconfig.app.json, add baseUrl and paths to compilerOptions:
{
  "compilerOptions": {
    "baseUrl": ".",
    "paths": {
      "@/*": ["src/*"]
    }
  }
}
In vite.config.ts, add a resolve.alias:
// vite.config.ts
import { defineConfig } from "vite";
import react from "@vitejs/plugin-react";
import path from "node:path";

export default defineConfig({
  plugins: [react()],
  resolve: {
    alias: {
      "@": path.resolve(__dirname, "./src"),
    },
  },
});
Now import { X } from "@/store/store" works everywhere.
Step 5 — Environment variables
Vite reads env vars from .env files at the project root. Only variables prefixed with VITE_ are exposed to your app code.
Create .env (kept out of git):
# .env
VITE_API_BASE_URL=http://localhost:8000
VITE_API_VERSION=v1
Create .env.example (checked in, so new devs know what to fill in):
# .env.example
VITE_API_BASE_URL=
VITE_API_VERSION=
Vite's .gitignore already covers .env*.local, but explicit .env doesn't hurt — append to .gitignore:
.envThen a small typed helper in utilities/ so the rest of the code reads validated values instead of raw import.meta.env strings:
// src/utilities/environment.ts
function required(name: string, value: string | undefined): string {
  if (!value) throw new Error(`Missing required env var: ${name}`);
  return value;
}

export const env = {
  API_BASE_URL: required(
    "VITE_API_BASE_URL",
    import.meta.env.VITE_API_BASE_URL,
  ),
  API_VERSION: required("VITE_API_VERSION", import.meta.env.VITE_API_VERSION),
} as const;

export const isProductionEnvironment = () => import.meta.env.PROD;
Step 6 — Redux store, slices and redux-persist
We use Redux Toolkit for two things: RTK Query as the API layer (fetching, caching, invalidating), and a few small slices for state that has to live outside a single component (auth session, active tenant, theme). We don't reach for Redux for anything a component can own itself.
Install:
npm install @reduxjs/toolkit react-redux redux-persistCreate the three baseline slices — each one is tiny at first and grows only as needed.
// src/store/slices/authSlice.ts
import { createSlice, type PayloadAction } from "@reduxjs/toolkit";

type User = { id: string; email: string } | null;

type AuthState = {
  isAuthenticated: boolean;
  token: string | null;
  user: User;
};

const initialState: AuthState = {
  isAuthenticated: false,
  token: null,
  user: null,
};

const authSlice = createSlice({
  name: "auth",
  initialState,
  reducers: {
    setAuth(state, action: PayloadAction<{ token: string; user: User }>) {
      state.isAuthenticated = true;
      state.token = action.payload.token;
      state.user = action.payload.user;
    },
    clearAuth(state) {
      state.isAuthenticated = false;
      state.token = null;
      state.user = null;
    },
  },
});

export const { setAuth, clearAuth } = authSlice.actions;
export default authSlice;
// src/store/slices/appSlice.ts
import { createSlice } from "@reduxjs/toolkit";
type AppState = { isLoaded: boolean };
const initialState: AppState = { isLoaded: false };
const appSlice = createSlice({
name: "app",
initialState,
reducers: {
setLoaded(state) {
state.isLoaded = true;
},
},
});
export const { setLoaded } = appSlice.actions;
export default appSlice;// src/store/slices/themeSlice.ts
import { createSlice } from "@reduxjs/toolkit";
type ThemeState = { isDarkMode: boolean };
const initialState: ThemeState = { isDarkMode: false };
const themeSlice = createSlice({
name: "theme",
initialState,
reducers: {
toggleDarkMode(state) {
state.isDarkMode = !state.isDarkMode;
},
},
});
export const { toggleDarkMode } = themeSlice.actions;
export default themeSlice;Now the redux-persist config — one config per slice you want to persist. Anything not in whitelist is not written to storage.
// src/store/persist.ts
import storage from "redux-persist/lib/storage";
import autoMergeLevel2 from "redux-persist/lib/stateReconciler/autoMergeLevel2";

export const authPersistConfig = {
  key: "auth",
  storage,
  whitelist: ["isAuthenticated", "token", "user"],
  stateReconciler: autoMergeLevel2,
};

export const appPersistConfig = {
  key: "app",
  storage,
  whitelist: ["isLoaded"],
  stateReconciler: autoMergeLevel2,
};
The store itself:
// src/store/store.ts
import { configureStore } from "@reduxjs/toolkit";
import { setupListeners } from "@reduxjs/toolkit/query/react";
import {
  persistReducer,
  persistStore,
  FLUSH,
  REHYDRATE,
  PAUSE,
  PERSIST,
  PURGE,
  REGISTER,
} from "redux-persist";

import { api } from "@/services/baseApi";
import { isProductionEnvironment } from "@/utilities/environment";

import authSlice from "./slices/authSlice";
import appSlice from "./slices/appSlice";
import themeSlice from "./slices/themeSlice";
import { authPersistConfig, appPersistConfig } from "./persist";

export const store = configureStore({
  reducer: {
    [api.reducerPath]: api.reducer,
    auth: persistReducer(authPersistConfig, authSlice.reducer),
    app: persistReducer(appPersistConfig, appSlice.reducer),
    theme: themeSlice.reducer,
  },
  middleware: (getDefaultMiddleware) =>
    getDefaultMiddleware({
      serializableCheck: {
        ignoredActions: [FLUSH, REHYDRATE, PAUSE, PERSIST, PURGE, REGISTER],
      },
    }).concat(api.middleware),
  devTools: !isProductionEnvironment(),
});

export const persistor = persistStore(store);
setupListeners(store.dispatch);

export type RootState = ReturnType<typeof store.getState>;
export type AppDispatch = typeof store.dispatch;
Typed hooks so components never touch untyped useSelector / useDispatch:
// src/store/hooks.ts
import {
  useDispatch,
  useSelector,
  type TypedUseSelectorHook,
} from "react-redux";
import type { AppDispatch, RootState } from "./store";

export const useAppDispatch: () => AppDispatch = useDispatch;
export const useAppSelector: TypedUseSelectorHook<RootState> = useSelector;
The store references @/services/baseApi, which we'll create next.
Step 7 — Services layer with the RTK Query base API
Install:
npm install axios js-cookie
npm install -D @types/js-cookie
RTK Query ships with a fetchBaseQuery; I use an axios-backed one instead so we get one place to attach the auth token, forward CSRF cookies, and handle 401s.
// src/services/baseApi.ts
import { createApi, type BaseQueryFn } from "@reduxjs/toolkit/query/react";
import axios, { type AxiosError, type AxiosRequestConfig } from "axios";
import Cookies from "js-cookie";

import type { RootState } from "@/store/store";
import { clearAuth } from "@/store/slices/authSlice";
import { env } from "@/utilities/environment";

type BaseQueryArgs = {
  url: string;
  method?: AxiosRequestConfig["method"];
  data?: AxiosRequestConfig["data"];
  params?: AxiosRequestConfig["params"];
  headers?: AxiosRequestConfig["headers"];
};

const axiosBaseQuery =
  ({
    baseUrl,
  }: {
    baseUrl: string;
  }): BaseQueryFn<BaseQueryArgs, unknown, unknown> =>
  async ({ url, method, data, params, headers }, api) => {
    const state = api.getState() as RootState;
    const { token } = state.auth;
    const csrf = Cookies.get("csrftoken");

    try {
      const result = await axios({
        url: baseUrl + url,
        method,
        data,
        params,
        headers: {
          ...headers,
          ...(token ? { Authorization: `Token ${token}` } : {}),
          ...(csrf ? { "X-CSRFToken": csrf } : {}),
        },
        withCredentials: true,
      });
      return { data: result.data };
    } catch (err) {
      const error = err as AxiosError;

      // A 401 anywhere means the token is stale — clear and bounce to login.
      if (error.response?.status === 401) {
        api.dispatch(clearAuth());
        if (window.location.pathname !== "/auth/login") {
          window.location.href = "/auth/login";
        }
      }

      return {
        error: {
          status: error.response?.status,
          data: error.response?.data ?? error.message,
        },
      };
    }
  };

export const api = createApi({
  reducerPath: "api",
  baseQuery: axiosBaseQuery({
    baseUrl: `${env.API_BASE_URL}/api/${env.API_VERSION}/`,
  }),
  tagTypes: [],
  endpoints: () => ({}),
});
Shared response types get their own file so every domain service can reach for the same shape:
// src/services/apiTypes.ts
export type Paginated<T> = {
  count: number;
  next: string | null;
  previous: string | null;
  results: T[];
};

export type ApiError = {
  status?: number;
  data?: unknown;
};
The pattern for every domain: services/<name>/api.ts uses api.injectEndpoints(...), services/<name>/types.ts for the domain's TypeScript types, services/<name>/enums.ts for its enums. For example, when you add the accounts service later:
src/services/accounts/
├── api.ts
├── types.ts
└── enums.ts
We're not going to build any endpoints in this post. When you're ready, the RTK Query docs walk through it well.
While we're here, install the forms stack for when you get to your first form. We use React Hook Form for form state, Yup for schema validation, and @hookform/resolvers to connect them:
npm install react-hook-form yup @hookform/resolversStep 8 — Pick your UI library
The scaffold up to here doesn't tie you to any UI library. themes/, components/, layouts/ and providers/AppProvider.tsx are all UI-agnostic slots — you pick what plugs in.
The two paths I reach for most often are Material UI (batteries-included component library) and Tailwind CSS (utility classes, bring your own components). Below is the smallest amount of setup for each, wired into the scaffold. Pick one and move on. You can also swap later — the folder structure doesn't change.
Option A — Material UI + Emotion
Install:
npm install @mui/material @emotion/react @emotion/styled @mui/icons-materialDefine your design tokens in themes/ and compose a theme from them:
// src/themes/colors.ts
export const colors = {
  primary: "#3E7DF8",
  primaryDark: "#2E5FC7",
  textHeading: "#344054",
  textBody: "#475467",
  background: "#FCFCFD",
  error: "#F53F39",
} as const;
// src/themes/typography.ts
export const TypographyTheme = {
fontFamily: "Inter, system-ui, -apple-system, sans-serif",
h1: { fontSize: "2rem", fontWeight: 700 },
h2: { fontSize: "1.5rem", fontWeight: 600 },
body1: { fontSize: "1rem" },
};// src/themes/theme.tsx
import { createTheme } from "@mui/material";
import { colors } from "./colors";
import { TypographyTheme } from "./typography";
export const theme = createTheme({
palette: {
primary: { main: colors.primary, dark: colors.primaryDark },
error: { main: colors.error },
text: { primary: colors.textHeading, secondary: colors.textBody },
background: { default: colors.background },
},
typography: TypographyTheme,
});You'll wire this into AppProvider in Step 10.
Option B — Tailwind CSS
Install Tailwind v4 with its Vite plugin:
npm install -D tailwindcss @tailwindcss/viteUpdate vite.config.ts to load the plugin (add it to the plugins array):
import tailwindcss from "@tailwindcss/vite";
// ...
plugins: [react(), tailwindcss()],
Replace src/index.css with a single line:
@import "tailwindcss";Put your design tokens in src/themes/tokens.css (or wherever fits) and reference them from utilities via Tailwind's @theme layer:
/* src/themes/tokens.css */
@theme {
  --color-primary: #3e7df8;
  --color-primary-dark: #2e5fc7;
  --color-heading: #344054;
  --color-body: #475467;
  --color-background: #fcfcfd;
  --font-sans: "Inter", system-ui, sans-serif;
}
Then import it once at the top of src/index.css:
@import "tailwindcss";
@import "./themes/tokens.css";
Tailwind doesn't need a provider — utilities work as soon as those imports are in place. Step 10 stays smaller for you.
Anything else
shadcn/ui, Chakra, Mantine, plain CSS Modules — the pattern is the same. Install the library, put its config or theme tokens under themes/, and if it ships a provider component, wrap it inside AppProvider in Step 10.
Step 9 — Router, layouts and the route registry
Install:
npm install react-router-domTwo layouts to start with — one for public/auth pages, one for the authenticated app. Kept plain here so they don't depend on your UI-library choice; swap <div> for <Box> (MUI) or add Tailwind classes when you get there.
// src/layouts/AuthLayout.tsx
import { Outlet } from "react-router-dom";

export function AuthLayout() {
  return (
    <div
      style={{
        minHeight: "100vh",
        display: "grid",
        placeItems: "center",
        padding: 24,
      }}
    >
      <Outlet />
    </div>
  );
}
// src/layouts/AppLayout.tsx
import { Outlet } from "react-router-dom";
export function AppLayout() {
return (
<div style={{ minHeight: "100vh", padding: 24 }}>
{/* Sidebar, header etc. slot in here as the app grows */}
<Outlet />
</div>
);
}Now the route registry — one file that maps every URL to a lazy-loaded page component and the layout it lives under. Adding a new route later is one entry in this object plus one page file. No route configuration scattered across the codebase.
// src/routes/route-registry.ts
import { lazy } from "react";
import type { ComponentType, LazyExoticComponent } from "react";

type RouteLayout = "public" | "authenticated";

export interface RouteEntry {
  component: LazyExoticComponent<ComponentType>;
  title: string;
  layout: RouteLayout;
}

export const ROUTE_REGISTRY: Record<string, RouteEntry> = {
  "/auth/login": {
    component: lazy(() => import("@/pages/auth/LoginPage")),
    title: "Login",
    layout: "public",
  },
  "/dashboard": {
    component: lazy(() => import("@/pages/dashboard/DashboardPage")),
    title: "Dashboard",
    layout: "authenticated",
  },
};
Two page files are referenced there. Add minimal placeholders — replace them with real pages later:
// src/pages/auth/LoginPage.tsx
export default function LoginPage() {
  return <h1>Login</h1>;
}
// src/pages/dashboard/DashboardPage.tsx
export default function DashboardPage() {
return <h1>Dashboard</h1>;
}Now the root App.tsx that consumes the registry:
// src/App.tsx
import { Suspense } from "react";
import { BrowserRouter, Routes, Route } from "react-router-dom";
import { AppLayout } from "@/layouts/AppLayout";
import { AuthLayout } from "@/layouts/AuthLayout";
import { ROUTE_REGISTRY } from "@/routes/route-registry";

const entries = Object.entries(ROUTE_REGISTRY);
const publicRoutes = entries.filter(([, r]) => r.layout === "public");
const appRoutes = entries.filter(([, r]) => r.layout === "authenticated");

export function App() {
  return (
    <BrowserRouter>
      <Suspense fallback={null}>
        <Routes>
          <Route element={<AuthLayout />}>
            {publicRoutes.map(([path, entry]) => {
              const Page = entry.component;
              return <Route key={path} path={path} element={<Page />} />;
            })}
          </Route>
          <Route element={<AppLayout />}>
            {appRoutes.map(([path, entry]) => {
              const Page = entry.component;
              return <Route key={path} path={path} element={<Page />} />;
            })}
          </Route>
        </Routes>
      </Suspense>
    </BrowserRouter>
  );
}
Step 10 — Providers layer
Two providers, composed once at the root and forgotten.
// src/providers/StoreProvider.tsx
import type { ReactNode } from "react";
import { Provider } from "react-redux";
import { PersistGate } from "redux-persist/integration/react";
import { persistor, store } from "@/store/store";

export function StoreProvider({ children }: { children: ReactNode }) {
  return (
    <Provider store={store}>
      <PersistGate loading={null} persistor={persistor}>
        {children}
      </PersistGate>
    </Provider>
  );
}
// src/providers/AppProvider.tsx
import type { ReactNode } from "react";
import { StoreProvider } from "./StoreProvider";
export function AppProvider({ children }: { children: ReactNode }) {
return <StoreProvider>{children}</StoreProvider>;
}If you picked MUI in Step 8, wrap ThemeProvider + CssBaseline inside StoreProvider:
// src/providers/AppProvider.tsx — with MUI
import type { ReactNode } from "react";
import { ThemeProvider, CssBaseline } from "@mui/material";
import { theme } from "@/themes/theme";
import { StoreProvider } from "./StoreProvider";

export function AppProvider({ children }: { children: ReactNode }) {
  return (
    <StoreProvider>
      <ThemeProvider theme={theme}>
        <CssBaseline />
        {children}
      </ThemeProvider>
    </StoreProvider>
  );
}
If you picked Tailwind, the file above stays as-is — utilities already work because of the @import "tailwindcss" line in src/index.css.
Wire them into main.tsx:
// src/main.tsx
import { StrictMode } from "react";
import { createRoot } from "react-dom/client";
import { AppProvider } from "@/providers/AppProvider";
import { App } from "@/App";
import "./index.css";

createRoot(document.getElementById("root")!).render(
  <StrictMode>
    <AppProvider>
      <App />
    </AppProvider>
  </StrictMode>,
);
Restart the dev server (npm run dev) and visit /auth/login and /dashboard. You should see the placeholder pages rendered inside the right layouts. That's the whole runtime shape of the app in place.
The last piece — ESLint — is already set up by the Vite template. Confirm it runs:
npm run lintIf you want Prettier on top of it, npm install -D prettier eslint-config-prettier, add a .prettierrc.json, and append "prettier" to the ESLint config's extends list. Same as we did on the backend with pre-commit — it's the small quality-of-life layer.
The final structure
Here's what you should have — every folder from Step 3, plus the files we've populated along the way:
myproject-web/
├── .env
├── .env.example
├── .gitignore
├── eslint.config.js
├── index.html
├── package.json
├── package-lock.json
├── README.md
├── tsconfig.app.json
├── tsconfig.json
├── tsconfig.node.json
├── vite.config.ts
├── docs/
├── public/
│   └── vite.svg
└── src/
    ├── App.tsx
    ├── main.tsx
    ├── index.css
    ├── vite-env.d.ts
    ├── assets/
    │   ├── png/
    │   └── svg/
    ├── components/
    ├── constants/
    │   ├── copy/
    │   └── enums/
    ├── hooks/
    ├── layouts/
    │   ├── AppLayout.tsx
    │   └── AuthLayout.tsx
    ├── pages/
    │   ├── auth/
    │   │   └── LoginPage.tsx
    │   └── dashboard/
    │       └── DashboardPage.tsx
    ├── providers/
    │   ├── AppProvider.tsx
    │   └── StoreProvider.tsx
    ├── routes/
    │   └── route-registry.ts
    ├── services/
    │   ├── apiTypes.ts
    │   └── baseApi.ts
    ├── store/
    │   ├── hooks.ts
    │   ├── persist.ts
    │   ├── store.ts
    │   └── slices/
    │       ├── appSlice.ts
    │       ├── authSlice.ts
    │       └── themeSlice.ts
    ├── themes/            # populated after Step 8, depending on which UI library you picked
    └── utilities/
        └── environment.ts
Every new feature you add lives in three places — services/<name>/ for the API and state, pages/<name>/ for the routed UI, and a line in routes/route-registry.ts. That's it. The backend has the exact same shape at apps/<name>/. You now have one full-stack app where "where does payments live?" has an answer on both sides of the wire.
What comes next
That closes the two-part starter series. If you follow Part 1 and Part 2 end to end, you have a Django backend and a React frontend, wired to talk to each other, ready to start building features on top of.
The follow-up post is the one you'll actually want after building a couple of features. It covers the why behind the decisions I glossed over across both parts — split-settings philosophy, service and selector layers inside Django apps, why I reach for Knox over JWT, when RTK Query is worth the ceremony over TanStack Query, MUI vs Tailwind trade-offs, and how to think about background jobs with Celery once you need them. Those are opinions with reasons, and they deserve their own conversation.
For now, if a junior developer opens Part 1 and Part 2, works through both end to end, and ends up shipping their first feature on top — the series has done what I wanted it to. If a step could be clearer or a choice would surprise you, tell me. That's exactly the kind of feedback I like.
- react
- typescript
- javascript
- software development